Feeds:
Posts
Comments

Posts Tagged ‘diy’

BittersInfusing

Recently I was invited to a holiday party that included the traditional gift swap.  However, being that I live in Minneapolis and Hipster-itis is an epidemic here, all gifts were highly encouraged to be homemade.  Being that my latest batch of wine, a Syrah, is months from being ready, I opted to make some bitters, because when one doesn’t have wine, cocktails are a nice alternative.

First off, what are bitters exactly?  Bitters is an umbrella term for any alcohol infused with botanicals which leave the end result tasting rather…bitter; bittersweet on occasion.  At your local trendy cocktail establishment, you’ll see a lot of them are making their own bitters in a variety of flavors and a few dashes of any particular one will show up on a high number of drinks on the cocktail menu.  However, if you want to appear cool (Like, really cool) when you’re out to eat at a fancy establishment, forgo the post-meal coffee and ask for a bitters to settle the stomach.  On multiple occasions, I’ve had waiters thank me for ordering a bitters because, and I quote: “[they] don’t see that much anymore.”  Even if you don’t like it, you’ll at least get some street cred with the waitstaff, so that’s something.

The homemade bitters that I made were more geared towards cocktails and here’s how you can make your own.  First, you’ll need a spirit as your base.  For starters, use a neutral grain alcohol.  If you have no idea what that is, just grab a high proof vodka or Everclear.  This will be the only time it is socially acceptable to buy Everclear.

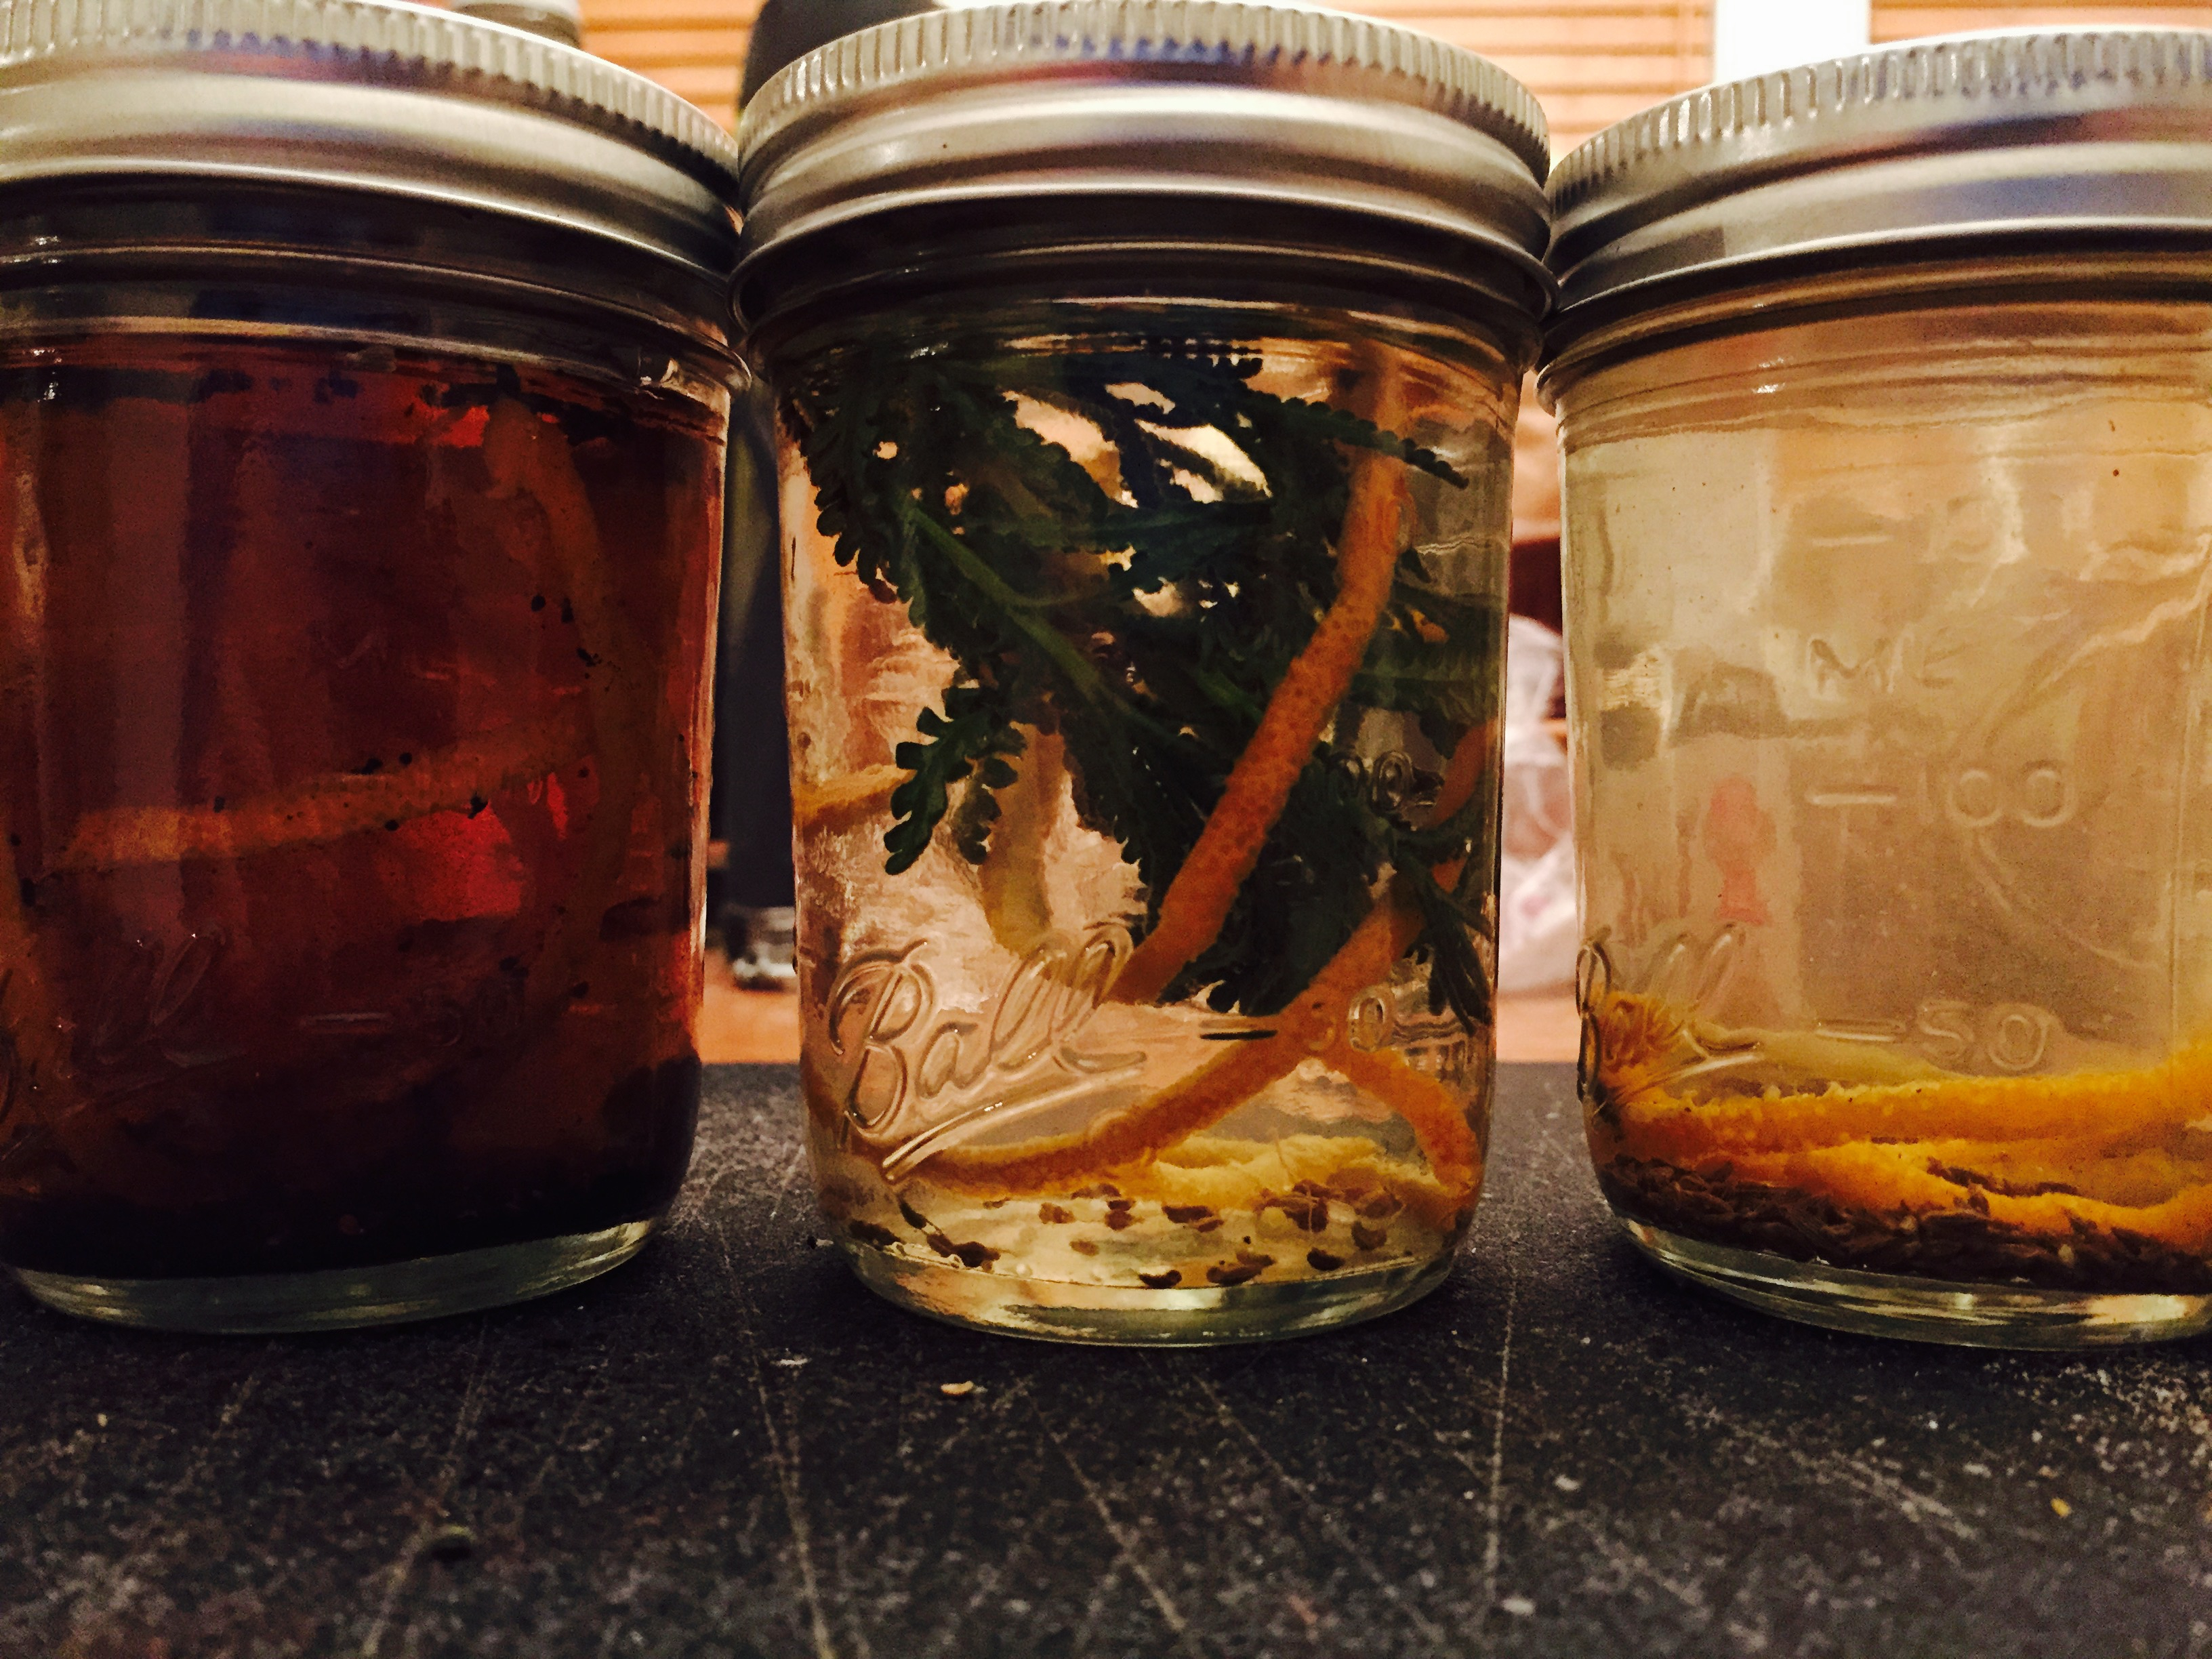
Next you’ll need to decide what flavors of bitters you want to make.  You can scour the internet for some or use the ingredients that I did for the 3 types I made as follows.  Ingredients are listed in descending order of their presence in the blend:

Orange Bitters:  Orange peel, chicory root, cardamom, coriander, clove, allspice

Lavender Bitters:  Lavender, orange peel, coriander, vanilla, ginger

Caraway Bitters: Caraway seeds, orange peel, coriander, celery salt, vanilla

There was approximately 2-3 tablespoons of total ingredients in the 6oz of spirit I infused.

BittersIngredients


After that you just let them sit while giving them a shake once a day for at least a week.  The longer you let them sit, the stronger the flavor will be (up to a point).  Once the intensity is to your liking, strain the infusing agents out of the bitters and bottle them up.  I used eye dropper bottles because I’m fancy.

BittersPackaging


And of course I would be remise if I didn’t include cocktail recipes for the bitters you just made.

The Old Fashioned

  • 1 sugar cube
  • 6 drops orange bitters
  • Splash of club soda
  • 2 oz rye whiskey
  • Orange peel for spritz and garnish

The Old Fashioned is a drink you build, meaning you just throw it all in a glass.  First place the sugar cube in and put 6 drops of bitters on it.  Once it softens a bit, muddle it up and spread it around the glass.  Toss a large ice cube in (or ice sphere for extra points) the glass.  Then dump in your whiskey followed by the splash of club soda.  Spritz that orange peel and/or rub it around the rim and toss it in the glass as well.

The Very Fine Italian Greyhound

  • 3oz grapefruit juice
  • 2oz vodka
  • 8 drops caraway bitters
  • 1/2 oz simple syrup (or just an equivalent dash of sugar)
  • pinch of salt

The Very Fine Italian Greyhound is a stirred drink which requires a glass full of ice purely for stirring.  Throw all of the ingredients into the stirring glass and stir for at least 10 seconds.  Strain the contents into your drinking glass which will preferably be a coupe, but a copper mug is fine if you’re into that sort of thing.

The Wisp

  • 2 oz gin
  • 1/2 oz white vermouth
  • 3 drops lavender bitters

The Wisp is a shaken drink which means you’re required to exert some physical effort.  Throw some ice into your shaker along with all of the ingredients.  Close up the shaker and shake it like you mean it for 10 seconds.  Strain into a coupe or martini glass.

Advertisement

Read Full Post »

Recently, I just purchased a home down the street from where I used to live in SW Minneapolis and am almost moved-in.  The joy of purchasing a home in this area is that the vast majority of houses were built in the 1920s.  That is to say, you will need to do some work, get your hands dirty, and perhaps cry a little with frayed wires in your hand before you smile with joy at the place you now call home.

The reason I bought a house was of course so I could have a wine cellar (Is there any other reason?), but alas, my charming craftsman did not supply that. In an ironic twist, the house my sister just bought did, but I’m clearly not jealous…  So what is one to do?  You have three options:

 Hire professionals to come build you one ($$$$)

Excuse me while I disappear into the floor to grab some vino.

Buy the pre-made bottle storage options sold at various places ($$$)

Oh your decorative plastic boxes are nice. $30 a piece you say? I think I’ll just keep the cardboard boxes the wine store gives me for free.

Do-it-yourself ($)

How do you like my new reading lamp? Worked for Tesla.

A basement storage closet was my obvious choice (chosen the first time I toured the house) because the basement is always fairly cool, the temperature doesn’t fluctuate too much, it sits at a nice humidity and it’s next to the future home of my studio (A guy’s gotta have hobbies).  My problem with hiring someone to do it was that the space was fairly limited and I generally don’t like to pay people to do things I can do myself.  My first problem with the options you can buy at a store is that 99% of them are all completely horizontal and I prefer the slight angling of the bottle because of science, yadda, yadda, oh, who am I kidding, it mainly just looks better*.  Second, I think most of them are cheap !@#$ and I don’t like to pay…you get the idea.  Therefore, I went with the third option.  DIY.

Now, I did have plans to dig below the basement and create a subterranean cave for wine storage that would have looked like this:

The Batcave is in the back.

But a certain female and the City of Minneapolis wasn’t going to approve, so I opted to scale back the storage plans to what could fit into the closet.  What did I use? I went to the Menards garden department and got two trellis fences and some stakes because that’s where all wine cellar DIY enthusiasts go.  Here’s an itemized list for your shopping assistance.

Item List

  • Decorative trellis fencing (2)
  • Random stakes to cut into 7 inch pieces
  • Screws
  • Some unrelated cool thing you just saw sitting there at Menards that you totally weren’t going in there to get.  It’s free with rebate, right?

I took one of the fences and cut the legs by 1 inch so when the bottle was placed between the normal sized fence and the shortened fence it would have a slight angle.  Then I screwed the two fences together with the stakes that I had cut into 7 inch pieces (5 pieces did the trick).  Then I put bottles in it after making sure it stood level on the ground.  Ta da! 20 minutes and ~$40 depleted after beginning, I had created my own wine cellar storage that holds 37 bottles.

Don’t forget to anchor it to the wall!

The nice thing about this method is that I can expand once I figure out a larger spot to put it in by just repeating the process.  And yes, I’m blocking the sun light streaming through that window now.

The simplified checklist for “proper” wine storage for the average citizen:

  • A place with cool and stable temperature.
  • A place free of lots of vibrations (even good ones).
  • A place with little to no sunlight.
  • A place that is humid enough so the cork doesn’t dry, but dry enough so mold doesn’t grow.
  • Bottles should be stored on their side at a slight angle (Excepting the bubbly;  that should be stored upright).
Go forth DIYers!

*There is actually a good reason for storing at a slight angle, however debatable. If you look at the surface area on the wine the bubble of air has when the bottle is directly on its side (bubble on the side of the bottle) compared to when the bottle is angled (bubble at the bottom corner of the bottle) you will notice just a bit less air touching the wine.  The bottle aging process (oxidation) is supposed to then have a gentler approach.  Will you notice when you pull out your bottle that has been sitting there for a year? Probably not, but you will be able to see the label better when you’re searching for it.  

Read Full Post »